Pages

Thursday, January 26, 2012

A Slower Plate: Roast Chicken and Chocolate Pot Du Creme

I am wishing for a slower pace of life.

I'm taking a class to become a certified Maryland Master Gardener. The group meets on Mondays and Wednesdays from 9am-12pm, so as you might expect it's comprised of lots of young people who work full-time.

Just kidding, I'm the only one.

The makeup of the rest of the class is approximately: stay-at-home moms (1), part-time worker (1), and recently retired (30). Everyone seems genuinely nice and certainly passionate about gardening. The problem is that on Wednesday at 12pm sharp, while I was stressed about getting to work as quickly as possible to accumulate the proper number of weekly hours without resorting to heroics like staying later than 6, the nice gentleman sitting in front of me had yet to rise out of his seat. In fact, he looked quite comfortable, and he said that since he retired he takes his time and does things at a leisurely pace. Some of that slow-down may be due to age, but I see it mainly as a conscious improvement in habits and lifestyle.

I am well aware that everyone in that room earned their retirement, probably working at far more demanding jobs than mine. But isn't it a shame that in life you have to wait until you are in your 50s or 60s to have the time to properly travel or care for a garden or cook truly wonderful meals? I do my best to sneak in bits of ambitious cooking (and traveling and gardening) here and there, but I am eagerly awaiting a day when life allows for more.

My latest "ambitious meal" was quite a feast! It included hearty crock-pot vegetarian minestrone soup, roasted (cage-free, organic, humanely raised, $17-but-so-worth-it) whole chicken, and for dessert? Chocolate pot du creme. For the roast chicken I followed Jamie Oliver's recipe strictly, and I cannot recommend it heartily enough. It was delicious. I'm sure Henry felt like the lucky dog he is when I shared a bit with him.


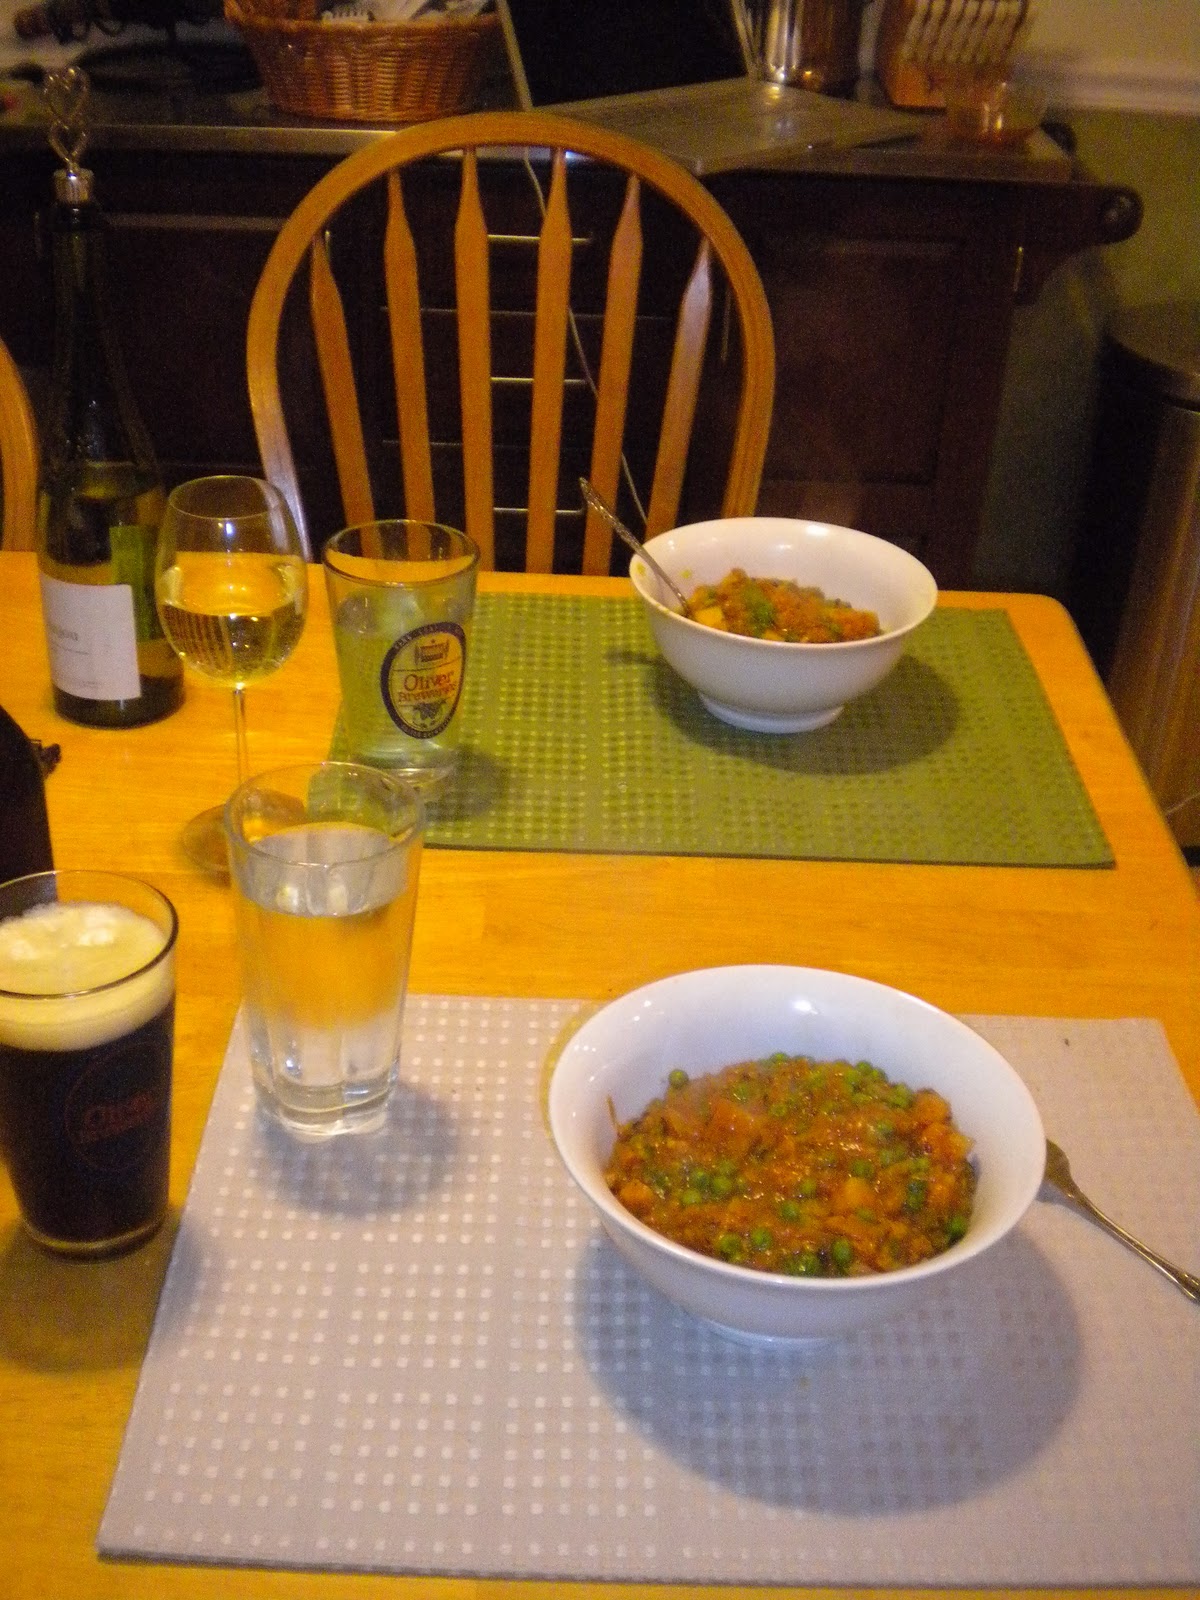
Without consciously slowing down a bit, it's unfortunately easy to end up eating something like this instead.

The chocolate pot du creme (that's "pot" pronounced as in Edgar Allan, not as in Pol) is what I truly wanted to share in this post. It's a dessert that's simple enough to make; it's rich and really leaves an impression with it's eater. I'm still thinking about a Belgian chocolate pot du creme I had two years ago at a restaurant. But it's another one of those fancies you wouldn't make unless you had all day to indulge your cooking whims.

Ingredients
For the Pot:
3/4 cup half and half
2.5 oz bittersweet chocolate (around 70% cacao, as close as you can get), chopped
1 Tbsp natural cane sugar
2 egg yolks
1/4 tsp vanilla extract
1/4 tsp cocoa powder
Pinch of salt
2 oven safe dishes/ramekins

For the homemade whipped cream topping (optional):
1 cup heavy cream
1 Tbsp natural cane sugar


Directions
For the Pot:
Preheat your oven to 300F. Bring half-and-half barely to a simmer in a small saucepan. Remove from heat and add the chocolate and sugar. Stir this until the chocolate and sugar dissolve into the mixture.  Let stand 2 minutes.

In a medium bowl, stir together egg yolks, vanilla, cocoa powder, and salt. Gradually stir the half-and-half mixture into the yolk mixture, whisking as you combine them. Pour this chocolate mixture through a fine mesh strainer into a measuring cup for the smoothest result.

Place 2 ovenproof cups or ramekins in a shallow roasting pan and divide the chocolate mixture among them. Pour hot water into the pan so it reaches halfway up the sides of the cups.

Bake in the oven until the custards are almost set in the centers, about 30 minutes. They will firm as they cool. Carefully remove the cups from their hot water bath and let them cool completely. Cover with plastic wrap and refrigerate at least one hour before serving.

For the topping:
This is nothing more than a tutorial on how to make your own whipped cream. You can look up plenty of other websites for directions if you don't like these.

You'll need a mixing bowl and some electric hand beaters. Put your mixing bowl in the freezer along with the beaters (not the part with the motor, just the removable beaters themselves) for at least 10 minutes. Once the equipment is cold, pour in the heavy cream. Beat it until "stiff peaks" are just about to form. You'll know it when you see it. Add in the sugar and continue beating until peaks do form. Do not overbeat. Cover this and refrigerate until ready to serve.


Shared At: Simple Lives ThursdayFull Plate Thursday, and Food Renegade's Fight Back Friday

Friday, January 20, 2012

A Resolution Update

A Peaceful Plate's New Year's Resolution was to eat more meals (at least 4 per week, to be specific) at the dinner table rather than on the couch. It's time for an update!

As it turns out, Dan and I are in the camp of people who think New Year's Resolutions are silly. If you want to improve yourself or your life, there's no need to wait until some arbitrary day - just start. So we did. We've been sharing our time and food at the kitchen table since I posted about it in late December. I think it's one of the best ideas I've had!


Here are some positive effects we've noticed from eating at the table together:
  • In order to make the table more inviting, we've spruced it up a bit. The "tablecloth" of junk mail and newspapers is gone; we purchased placemats and chair cushions since we figured we'd be spending more time sitting there.  It's a nice place to eat!
  • When you sit on the couch to eat your dinner, you can pretty much have only one dish of food. You set it on a pillow in your lap and pray that it doesn't spill all over the floor. Not so at the table! Multiple dishes are welcomed. Enjoy wine, beer, and water if you want to. 
  • Partly because we like each other, and partly because it would be weird to silently stare at the other person, we talk to each other more. 
  • Henry associates us sitting on the couch with an urgent need to go outside and pee. The moment we would get comfortable on the couch with our food he would ask to go out. I don't know for sure, but I'm guessing this is some kind of game that dogs find hilarious. So far, the game is not played with table-eaters.
Shared at Food Renegade.

Sunday, January 15, 2012

A Snappy Plate: The Ginger Kind

Two "smart eating" rules I think of often are: 1. Only eat sweets that you make, and 2. When you go out, always bring something to eat with you. These are perfectly sensible ideas. Sweets like candy are often harbingers of bad things, like unrecognizable variations of soy (lecithin?) or high fructose corn syrup. When you make treats, you probably won't use high fructose corn syrup mostly because you can't buy a jar of it at the store. You'll use an actual food like butter instead. To understand the second rule, imagine you're going out to the mall. It is quite likely that on your way in through Macy's, you will become temporarily blinded by perfume spritzes, make a wrong turn at the Forever 21, and wind up in the food court, dizzied by the scents of Chick-Fil-A and that Japanese stir-fry place.


With quick reflexes and a little bit of luck, you can whip out the snack you brought along and make an escape. This is why I do not go to the mall.

What, you might ask, is the point?  The point is this: Gingersnaps. I have a delicious recipe for these goodies that is fairly easy to follow and not terrible for your body (Rule #1). Dan and I gave them as a gift over the holidays after baking and eating an entire test batch, and they received rave reviews. Ladies, gingersnaps are easy to put into your purse to sneak into the mall, movies, or Broadway musical productions (Rule #2). If I were giving dating advice, I would mention that women who offer homemade cookies at just the right moment make men swoon. I would also mention that most men aren't worth the trouble. Choose your cookie offerees carefully.

The recipe is inspired by the Joy of Baking version with some modifications.

Ingredients (Makes 4 Dozen Cookies)
3/4 cup unsalted butter (if you use salted, omit the salt later in the recipe)
1/2 cup muscovado sugar
1/2 cup natural cane sugar
1/4 cup unsulphured molasses
1 large egg
1/2 tsp vanilla extract
2 cups white whole wheat flour, King Arthur is a good brand
1/2 tsp baking soda
1/4 tsp salt
1 and 1/2 tsp ground cinnamon
2 tsp ground ginger
1/2 tsp ground cloves
1 extra cup natural cane sugar


Directions
Put the butter and sugars into a mixing bowl and beat with your electric/hand mixer until they are light and fluffy (2-3 minutes). Add the molasses, egg, and vanilla extract and beat until incorporated.

In a separate bowl, whisk together the flour, baking soda, salt, and spices. Add this to the butter mixture and mix until well combined. Cover and chill the batter for about 30 minutes until it's a little bit firm. I sometimes let it chill overnight if I don't have enough time in the same day; if you do this, just be sure to let the dough set out and soften some before baking.

Warning: If you are someone who likes to eat raw cookie dough, as I do, you are going to want to eat this. You are not going to want to make ANY cookies out of it. Remember though, that not only does this defeat the purpose of Rule #2, but if you sit and eat a bowl of dough which would normally produce 4 dozen cookies, you won't feel very good. I try to limit my dough-eating to the equivalent of 6 cookies. End Warning.

When ready to bake, preheat the oven to 350F and line two baking sheets with parchment paper. Place the reserved 1 cup of natural cane sugar in a small bowl. When the dough is properly chilly, roll it into 1 inch balls. Roll each ball of dough into the sugar, coating thoroughly. Place them onto a baking sheet spaced about 2 inches apart. Press the bottom of a glass onto each dough ball to flatten it slightly. They might stick a bit, but just peel the cookies off and return them to their baking sheet.

Bake for 12-15 minutes. The longer you bake them, the crunchier they will be. I usually bake them between 12-13 minutes and once they cool they are always properly crisp. They should feel dry and firm on top when you take them out of the oven. Cool them on a wire rack.

Shared on: Food Renegade and Real Food Whole Health

Wednesday, January 11, 2012

Cheddar Cheese Isn't Orange And Other Food Truths

Cheddar cheese isn't orange. In it's natural state it is actually a very pale yellow color. If you look at the ingredient list of most cheddar cheese, particularly the pre-shredded variety, you will see something (usually annatto - at least it's not artificial) added for color. Nobody is completely sure who decided cheddar cheese should be orange. Wikipedia posits that in the 16th century, cheeses of superior quality all appeared darker yellow or orange, so makers of poor-quality cheese began adding deep yellow annatto to spruce up their paltry products. Read on for 3 other weird things that companies do to their food products.


Everybody knows Americans don't get enough fiber in their diets, right? Rather than promoting eating foods that are actually full of fiber, like fruit, vegetables, beans, or oats, many companies add fiber into their otherwise fiberless foods. But they can't exactly transfer the fiber from a black bean into a piece of fried chicken with some Frankenstein-like mad scientist setup, so they get it from somewhere else: trees. Cellulose is an ingredient often added to processed foods to up their fiber content. Cellulose is wood pulp, and in addition to adding dietary fiber and texture to foods like Aunt Jemima's syrup, the McRib sandwich, some shredded cheeses, and Nestle's hot chocolate, it also makes a really good wallpaper paste.

You know that nice sheen that coats treats like chocolate covered raisins, jelly beans, or sprinkles? It usually shows up on food labels as "shellac" or "food glaze", and it's totally natural! It's made from secretions of the female lac bug, similar to a beetle. It's also used as primer, wood finish, and high gloss varnish. Yum.

Here we are talking about cheese again. A Peaceful Plate is nothing if not a cheese-hound. Let's say you were John Sargento (or Jane, as the case may be) and you wanted to make some parmesan cheese. What would you do? Well, you'd start by acquiring some milk. You would curdle the milk by adding some type of acid like lemon juice or vinegar. Then you, JohnJane, would slaughter an unweaned baby cow and take out the lining of it's fourth stomach because it has enzymes you can use to turn your curdled liquid milk into a solid cheese. Maybe you'd sell the rest of the calf as veal so all is not lost. Kidding, stay away from veal. The enzymes baby cows produce in their stomachs is called rennet on ingredient lists. It is becoming quite commonplace to see cheeses using vegetarian and synthetic sources of these coagulating enzymes (some plants and molds produce similar varieties), but if you care about what went into your cheese you'd better read the label.

Shared at: Kelly the Kitchen Kop and Beyond The Peel

Monday, January 9, 2012

What's Wrong With Bottled Water Part 1

There are few scenarios I can dream up where I wouldn't mind drinking bottled water. One involves me finishing a sweaty race during which I couldn't carry my own; in another, I'm in a third world refugee camp and there is no other parasite-free source available. There's one more, but I'll save that for the end of the post.

So what's wrong with bottled water?

1. It costs a lot! I haven't ever heard someone complain about the price of bottled water, but it's hundreds of times more expensive than what comes out of your faucet. Some brands are more expensive per gallon than gasoline (which eeeeverybody complains about). So you're paying - a lot - for a basic human right and one of the building blocks of life. And it might not actually be much better than what comes out of your sink. Brands Aquafina and Dasani (both owned by major soda companies which I wouldn't trust to make anything good for my body) clearly state on their websites that their product is purified public water. No bottled water company is required to list it's sources.
A shot from our trip to Patagonia last January. That's a glacier and some delicious glacier water running down the mountain. I did not see any bottled water companies there to collect it.
2. Plastic sucks. Making it is hard on the environment. It requires crude oil and a whole lot of processing. It doesn't always get recycled; tossing an empty bottle into the little blue bin isn't a guarantee.
3. "Bisphenol A" SUCKS. By now, most people have probably heard of BPA. It's an estrogen-like chemical that is used in many types of plastic; studies have found it leeching out of can linings, receipt paper, and plastic water bottles. It tends to come out more as the plastic breaks down, which happens as a result of time and heat. That explains why it's a bad idea to put plastic water bottles in the dishwasher or leave them in your car on a sunny day.  What problems might BPA contribute to? Learning disabilities, ADHD, and heart disease for you, and it may predispose your children to obesity - a 2009 study found higher rates of obesity in the offspring of lab animals with BPA exposure.

It's a good thing there are alternatives!

Lots of people like Brita (or similar) pitchers and sink attachments to filter water themselves. I think this is the best option for those who dislike the taste straight from the tap. You can also carry your own reusable BPA-free bottle, something that is relatively easy to find these days, filled with water in case of thirst. This requires just a tiny bit of thinking ahead on your part, but it's really simple to do and a great idea.

As I've mentioned, some people really hate the taste of their tap water. I think ours tastes fine, but I do realize the taste changes based upon where you live and how your water is treated. Stay tuned to A Peaceful Plate for Part 2, the third and final scenario in which I don't mind drinking bottled water: a blind taste test.

Shared at: The Healthy Home Economist.

Wednesday, January 4, 2012

How To Make Really Good Rice

Rice.

It's plain. Starchy. Brown or white usually, but sometimes red, black, and purple. Goes with a lot of things. Often swept under meat or vegetables. About as exciting as, well, rice.

But guess what? For over half of the world's population, rice is a staple food. Twenty percent of the world's dietary energy supply comes from rice (wheat rings in at 19%). Rice has given us something like 12,000 years of it's time, so let's give it just a few minutes of ours.

How To Make Rice
Lots of people use a rice cooker. I've never understood that. To me, rice cookers are another one of those single-purpose gadgets like a strawberry huller or a banana slicer. It takes up much less drawer space to just eat around strawberry leaves.

To make a basic pot of rice, you need only three things: a pot, rice, and water - 1 part rice to 2 parts water. Put the rice and water in the pot and bring it to a boil. Simmer the mixture, fluff it (a fancy word for "stir") once in a while with a fork, and when there is no more water your rice is done.

How To Make Slightly Better Rice
There are a few simple things you can do improve upon this basic pot of rice.
1. Add a dollop of oil to the pot before you start to boil it. This gives your finished pot of rice a nice texture.
2. Use good rice. Forget about Uncle Ben and his 90-second plastic pouches. My favorite type of rice is Basmati, literally "the fragrant one". It's a long-grain rice that is used in a lot of Indian cooking. Basmati comes in brown and white varieties and I think both are equally tasty. White basmati takes about 20 minutes to cook, while the slightly more nutritious brown basmati takes 30-40 minutes.
3. Try boiling your rice in vegetable broth instead of water. The 2-to-1 rule still holds, and it's a tasty alternative!

How To Make Really Good Rice
Dan and I recently enjoyed this Pea, Potato, and Lentil Curry. Rather than making plain rice or even Slightly Better Rice to go along with it, I decided to try this Sidelicious recipe that sounded like it would come close to emulating the rice at our favorite Indian restaurant. As you may have guessed, the end result was Really Good Rice.
Ingredients
1.5 cups basmati rice (we used white, but I think brown would turn out just as good)
4 garlic cloves
1 yellow onion, diced
1-2 inches fresh ginger, peeled and chopped
1/2 tsp. - 1 tsp. cumin seed
1 tsp turmeric powder
1 Tbsp. coconut oil
2-3 cups vegetable broth (save veggie scraps to make your own!)

Directions
Heat the coconut oil in a pot that will be big enough for your rice. Add the onion and saute on medium heat until it's transparent, just a few minutes. Add the garlic and ginger and saute for a few more minutes (4-5). To this, add the rice and cumin seed and fry it all together for about 5 minutes, stirring often. Next, add the turmeric and mix it in until everything is yellow. Add 2 cups of your broth.

Bring the mixture to a boil and then let it simmer with the lid of the pot on but tilted to allow steam to escape. Keep an eye on it, and give it a stir once in a while. If all of the liquid gets absorbed but your rice isn't soft enough, add a bit more until it is. For white basmati, it should take about 20 minutes; brown will take longer.

I think what really made this rice turn out well is that I made it about 2 hours before dinner (because that's when I had time) and we let it sit in the pot, lid on and burner off, until we were ready to eat it. Because of the spices in this recipe, I think this rice would be best eaten either by itself or with an Indian-inspired curry or masala. Our curry and rice combo turned out so well it's one of my new favorite dinners.

For more real food recipes and healthy lifestyle ideas, visit Real Food Wednesday.