Pages

Showing posts with label dog. Show all posts

Friday, January 20, 2012

A Resolution Update

A Peaceful Plate's New Year's Resolution was to eat more meals (at least 4 per week, to be specific) at the dinner table rather than on the couch. It's time for an update!

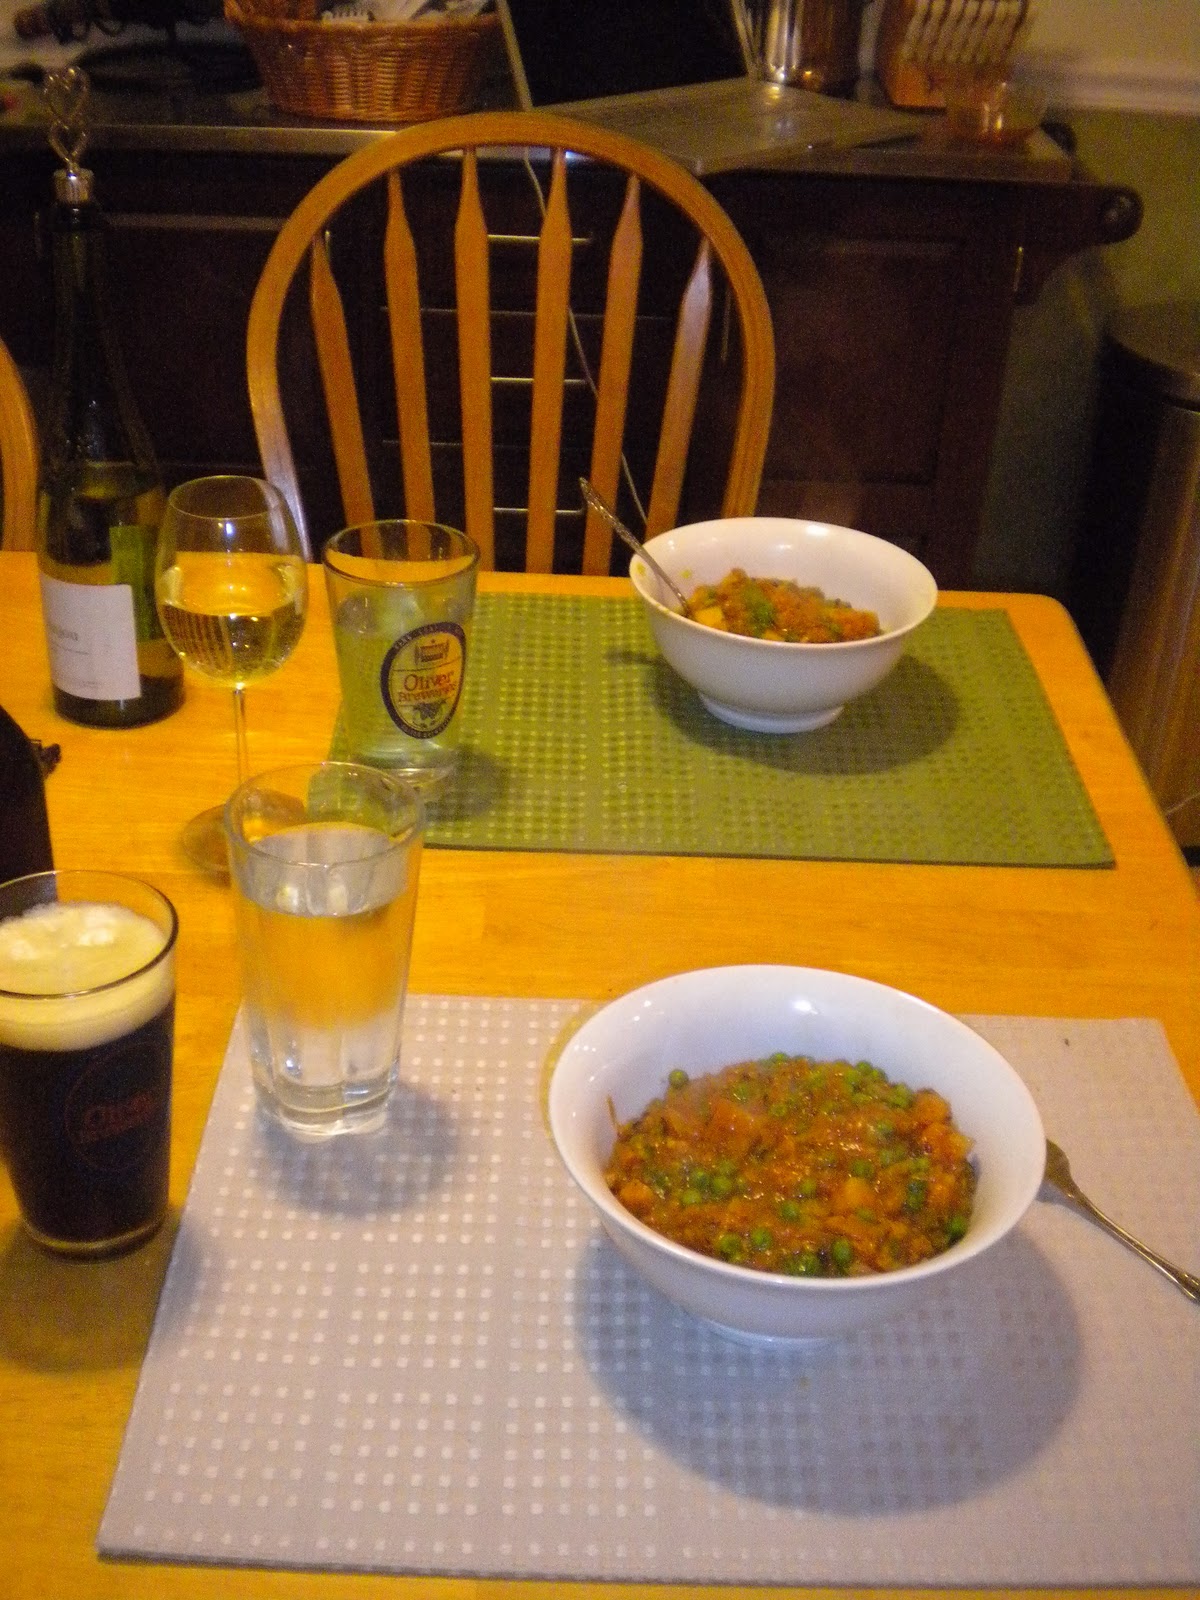
As it turns out, Dan and I are in the camp of people who think New Year's Resolutions are silly. If you want to improve yourself or your life, there's no need to wait until some arbitrary day - just start. So we did. We've been sharing our time and food at the kitchen table since I posted about it in late December. I think it's one of the best ideas I've had!


Here are some positive effects we've noticed from eating at the table together:
  • In order to make the table more inviting, we've spruced it up a bit. The "tablecloth" of junk mail and newspapers is gone; we purchased placemats and chair cushions since we figured we'd be spending more time sitting there.  It's a nice place to eat!
  • When you sit on the couch to eat your dinner, you can pretty much have only one dish of food. You set it on a pillow in your lap and pray that it doesn't spill all over the floor. Not so at the table! Multiple dishes are welcomed. Enjoy wine, beer, and water if you want to. 
  • Partly because we like each other, and partly because it would be weird to silently stare at the other person, we talk to each other more. 
  • Henry associates us sitting on the couch with an urgent need to go outside and pee. The moment we would get comfortable on the couch with our food he would ask to go out. I don't know for sure, but I'm guessing this is some kind of game that dogs find hilarious. So far, the game is not played with table-eaters.
Shared at Food Renegade.

Wednesday, December 14, 2011

A Classic Plate: Make Your Own Pizza

Just about everyone appreciates a good pizza. With so many varieties, we can all find something to like: thin crust, deep dish, classic, gluten-free, and sans cheese for The Vegans. Even dogs enjoy a good slice now and then.

On a pleasant Spring day, when we hadn't had Henry very long, we decided to take him on an outing into the Fell's Point neighborhood of Baltimore City - a lovely spot - to practice seeing lots of people and being social. As we strolled back to the car at the end of a successful afternoon, he zeroed in on it. Head down. Tail up. Sniffing. One stealthy chomp towards the ground, and he had it. A fully intact, day-old slice of cheese pizza no doubt dropped there in the wee hours by a bar-goer stumbling home. Unfortunately, this was before Henry knew "out" (he still hears it only selectively), and we were in the "prying things out of jaws" stage. Eventually, I believe he was willing to trade for a large bite of hot dog.

Dan hearts pizza!
Since not everyone enjoys Cold Dirt Pizza, I'd like to share our recipe and some special techniques for a successful homemade version. Dan and I have been making pizza together since the very beginning. In fact, one of our first forays into the adventures of cooking together found us newly dating, making cute heart-shaped pizzas for each other.

Note: The sauce and dough recipes are thanks to "Rabbit Food" - one of our favorite cookbooks.

The Dough
The first thing you need is some good pizza dough. You can buy it pre-made at a store, but it's very simple, inexpensive, and tastes better when you make it yourself. Mix up the dough around the time you eat lunch (it won't take longer than 20 minutes), set it aside, and it will be ready when you want dinner.

Makes two 12-inch pizzas.

2 tsp active dry yeast
4 cups of flour
1 1/4 cups hot water
3 Tbs olive oil
1/2 tsp sugar
1/4 tsp salt
Dashes of garlic powder, pepper, thyme, basil, oregano, and/or red pepper flakes

Mix together the yeast, sugar, and 1 cup of flour. Add the warm water and let it sit for 10 minutes. Mix in the oil and spices. Begin to add the rest of the flour 1 cup at a time until kneading is required (meaning you can't mix it with a spoon anymore). Then, knead in the rest of the flour 1/2 cup at a time until the dough is no longer too sticky to handle. Dan had to add in more water than is called for to get the mixture right - you be the judge!

Separate the dough into equal two parts. Set it on an oiled baking sheet (very important!), cover with a kitchen towel, and let it rise. It will be ready after about 60 minutes, but you will have better results when it's left for several hours.

When ready, channel your inner Italian to twirl the dough into pizzas or simply press them flat.

The Sauce
Again, you can buy the sauce pre-made but I recommend making it yourself. It's very easy and you have total control over the spices and flavor. I would add loads of garlic whereas Dan would toss in extra crushed red pepper.

Makes enough sauce for two 12-inch pizzas.

1 can tomato sauce
1 can tomato paste
2 tsp olive oil
2 tsp sugar
Dashes of garlic powder, pepper, thyme, basil, oregano, and/or red pepper flakes

Mix it all together. Taste often, and adjust spices as necessary.

The Toppings
Go wild! Topping your pizza is the most fun; use your favorite fresh vegetables and herbs. In my most recent pizza I used finely diced mushrooms, onions, and a bunch of garlic. Dan used mozzerrella cheese slices, sliced mushrooms, a green chili pepper for some kick, and fresh basil leaves (don't add the basil until the end of cooking). We also used a shredded Italian cheese blend along with some grated parmesan. Both pizzas were fabulous!


Cooking Tips
Everything has been really easy so far. Just put your pizza in the oven, cook at about 400 degrees for 15 minutes or until the crust is golden and cheese bubbles. Take it out, slice it up, and enjoy.

But wait.. if you don't have a pan that will hold a 12-inch pizza, how do you get it from the counter to the oven? And how will you get it out when it's hot? Success at these steps has eluded us until recently. I would pile the toppings and cheese on, making my pizzas so heavy that they could not slide into or out of the oven without dozens of mushroom and onion casualties.  One simple piece of equipment (and a bit of practice with it) can fix all that: a $10 pizza peel like this one.

I would also recommend investing in a pizza stone, which goes for about $50 and really does make a difference in the texture of the crust.

Buon appetito!

Check out more great ideas at the Real Food Wednesday blog.

Friday, June 10, 2011

The Wonderful World of Barley

Dan enjoys homebrewing when he can find a few free hours, and recently read about creative ways to use the mashed grains.  In the past, he had either filled up our kitchen trash can with them (sometimes not all the way cooled - hot trash does NOT smell good) or dumped them into my raised bed garden and our compost bin.  Side note: my grandmother used to dump her coffee grounds straight into her flower bed and always had the most beautiful plants!

So what did we decide to make?  Dog cookies!  It is getting easier to find quality dog treats in chain pet food stores, but I still like knowing exactly what went into these.  Considering the grains would have gone into the trash otherwise, it is certainly cost-effective.  Dan simply mixed together 6 cups grains, 6 cups flour, some peanut butter, a banana, an egg, and a lot of love.  The mixture has to be flattened onto one or two cookie sheets, pre-scored into squares or whatever shape your dog likes (the photo in the magazine indicated they used squirrel cookie cutters which I thought was hilarious), and then baked until they dry out.  Our 8 month old cute-but-very-bad rescue puppy is absolutely wild about them!


A word of caution: hops are poisonous to dogs, so make sure your grains have not come into contact with any.

Another word of caution.  You bake the treats in two stages.  Once at a high-ish temperature for an hour to get the mixture to solidify, then you re-score the cookies and put them back in the oven on a very low temperature for another 5-10 hours until they are crunchy.  Dan mis-read the last part of the instructions and thought they went back in for 5-10 minutes, so ours are a bit softer than they should be.  How dry and crunchy they get directly correlates to how quickly they will mold, so if you can store them safely I think the cooking time can be adjusted.

UPDATE:  Ours molded after about 5 days.  :-(